Trending Topics
Discover insights for all your outdoor home improvement projects. If you have any questions about how we can help with your landscape design and installation project just reach out!
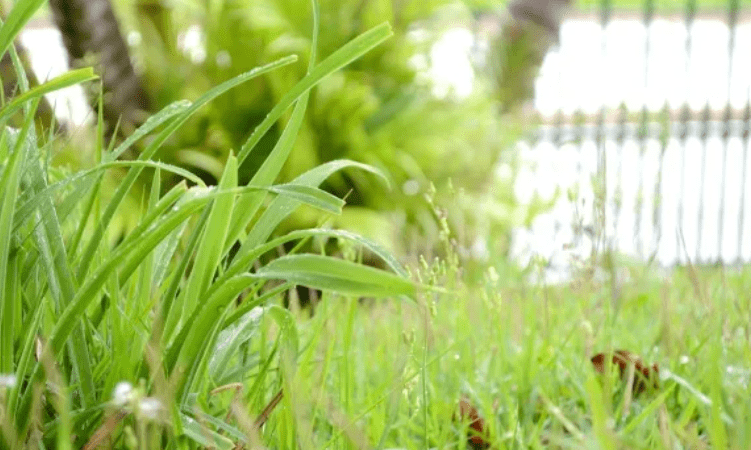
5 Spring Lawn Care Tips for Midland (Because Michigan Weather Keeps You Guessing)
If there’s one thing we can all agree on regarding our local weather, it’s this: nothing is consistent except the inconsistency. Spring in Midland doesn’t follow a script. Some years we’re mowing in April. Other years we’re still watching the forecast for frost, or...
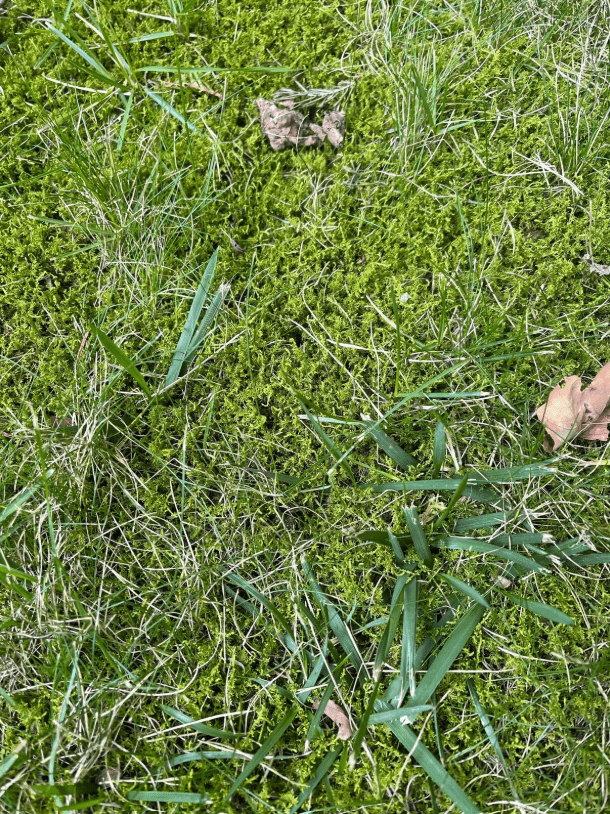
How to Remove Moss from Your Lawn (and Keep It from Coming Back)
Moss can quietly take over a lawn, filling in thin or struggling areas and creating a soft, but often unwanted, green carpet. Whether you're dealing with a few small patches or widespread invasion, removing moss successfully starts with understanding why it’s there in...
5 Common Landscaping Mistakes Homeowners Make (and How to Avoid Them)
A well-designed landscape should feel effortless, but behind every great-looking property is a thoughtful plan, smart decisions, and consistent care. Without those pieces in place, even the best intentions can lead to frustration, added costs, and a landscape that...
5 Things You Can Do in Your Landscape Today
Early spring guidance for mid-Michigan properties Snow melt is behind us, the ground is thawing, and daytime temps are consistently climbing above freezing. Even with cool nights, your landscape is officially transitioning out of dormancy. This window, when it’s still...

Why Choose Reder?
At Reder Landscaping, we believe one of the biggest differences you’ll notice isn’t just in the way your property looks, it’s in the way it’s cared for. One of the standout benefits of working with us is having your own dedicated Account Manager. What Does an Account...
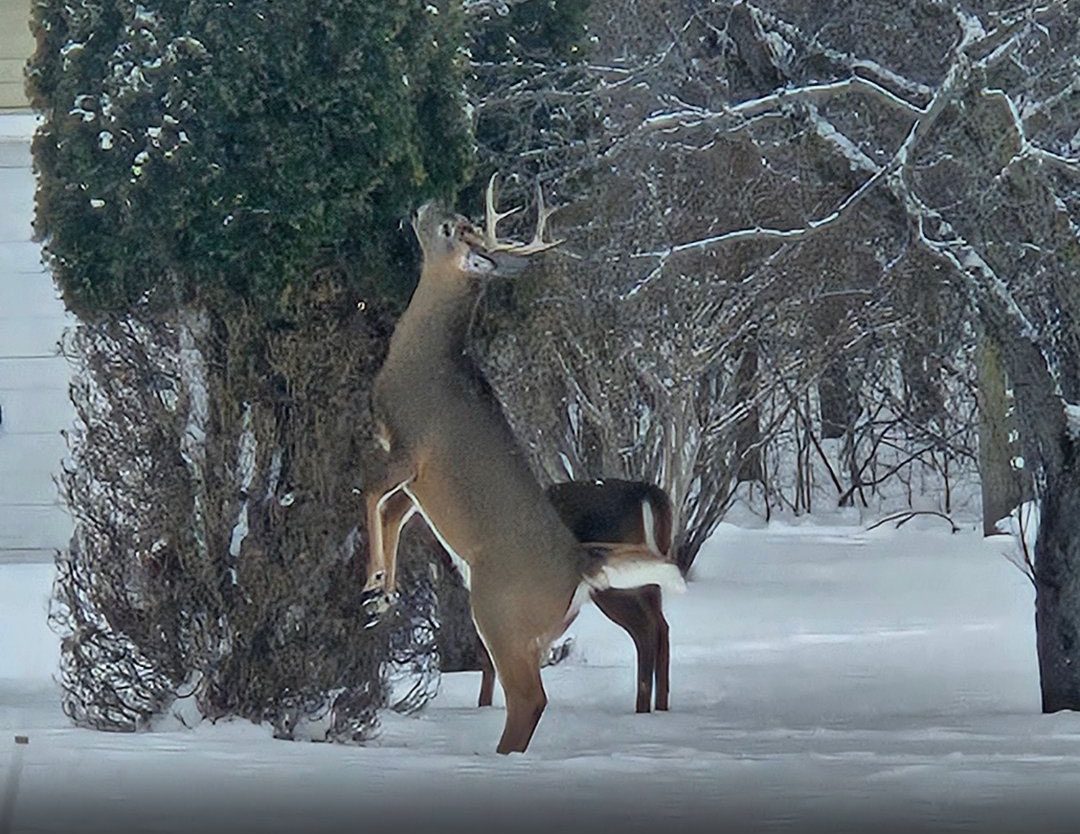
Deer Damage in Midland, Michigan Landscapes and How to Protect Your Plants
If you’ve stepped outside recently and noticed stripped evergreens, chewed shrubs, or hostas disappearing overnight, you’re not imagining it. Across Midland and surrounding areas, deer browsing has been heavier this winter, and not just on the plants they normally...

The 5 Perks of February Landscape Planning
February is the middle of winter, and while snow and ice still cover the ground, it’s actually a great time to start thinking about your spring landscape. Here’s advice from the pros at Reder on why getting a head start now can make a real difference, plus practical...
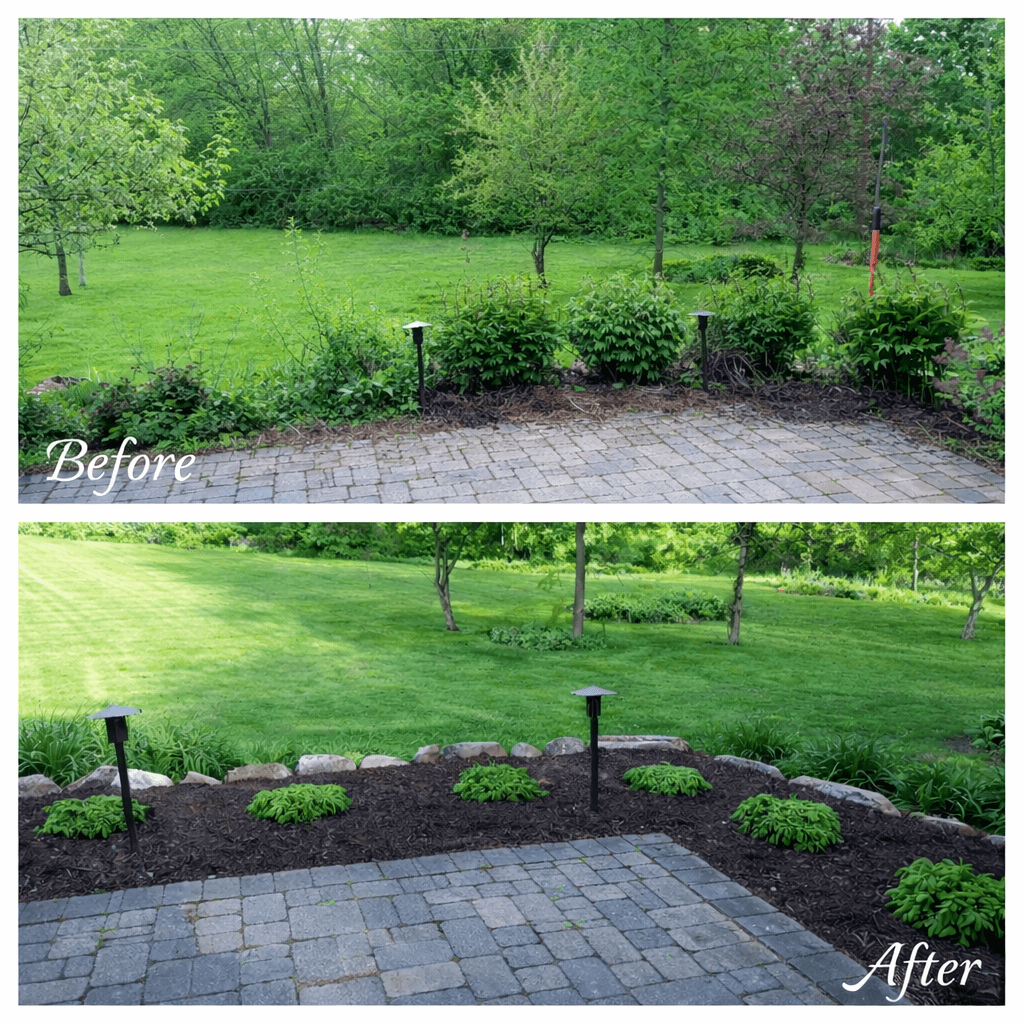
Small Landscape Projects That Make a Big Impact
This time of year, homeowners start thinking about the season ahead, and you do not need a major overhaul to make a noticeable difference in your landscape. Thoughtful, smaller projects can refresh the look of your yard, improve how it functions, and help everything...

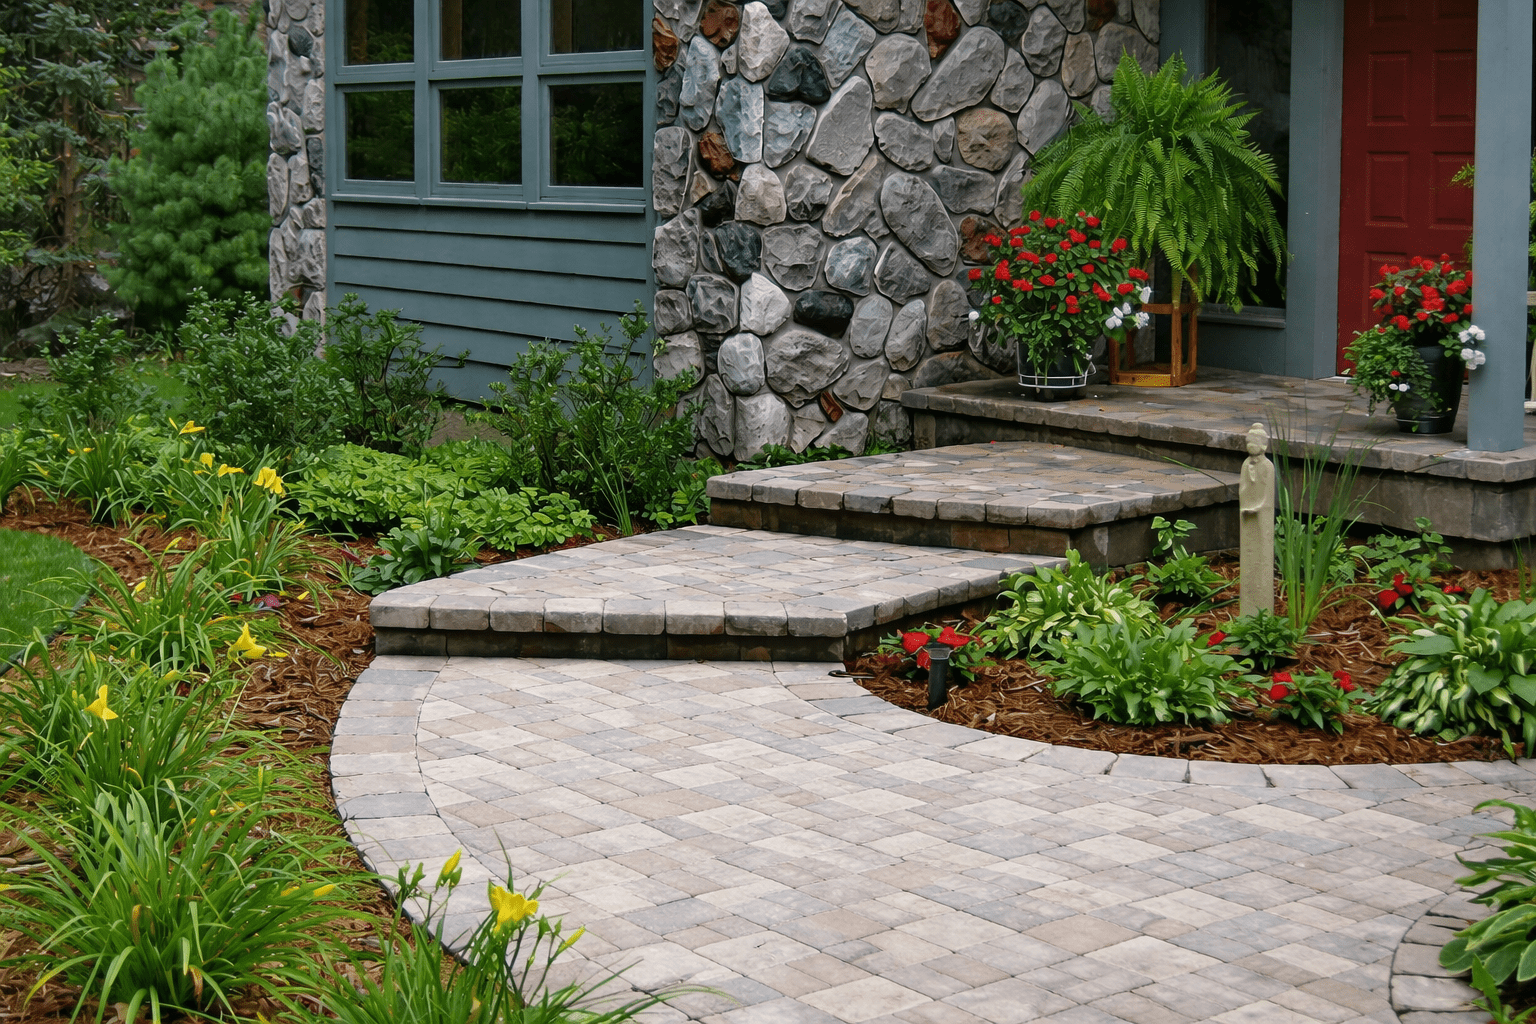
Which Patio Paver Should I Use For My Patio?
Unilock Beacon Hill pavers in a variety of installations; patios, seating areas, and poolside spaces. When we talk with homeowners about patios, one thing always comes up early in the conversation: pavers. Choosing the right paver is one of the most important...
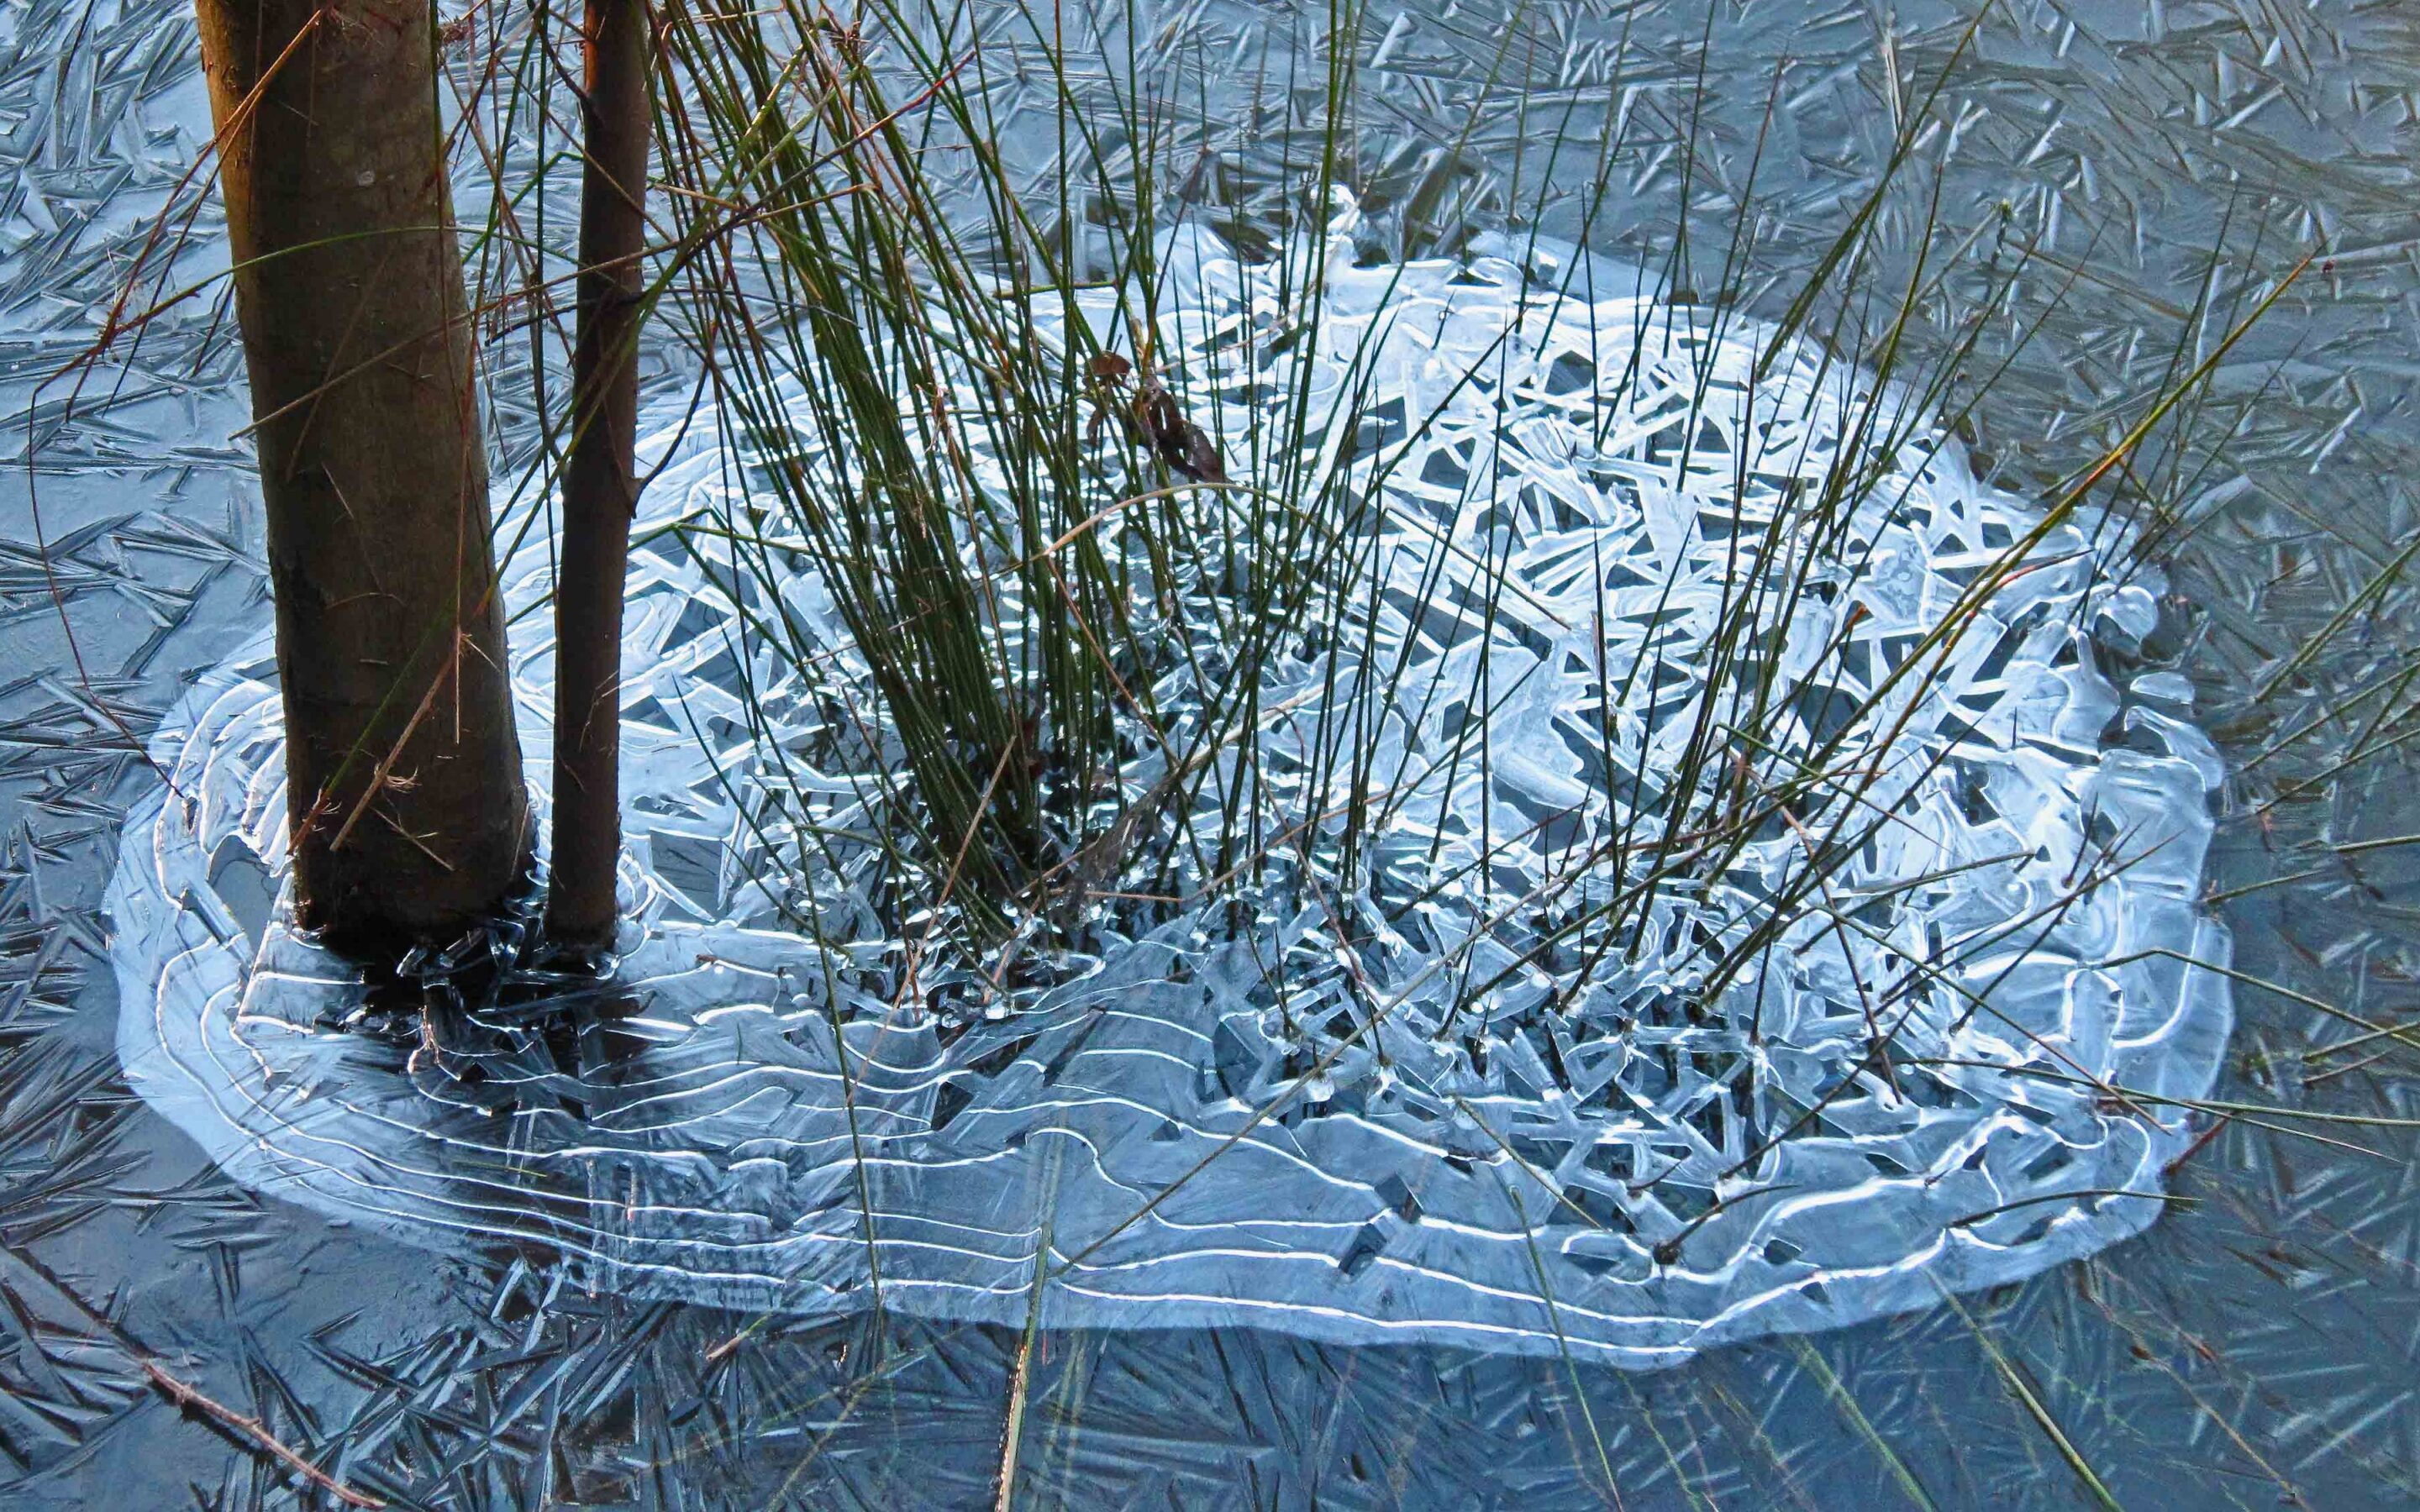
Why Do I Have Frozen Puddles In My Yard?
If you’ve been outside in Midland lately, you’ve probably noticed it rain, rain, and more rain. With the ground still frozen, all that water has nowhere to go, leaving puddles and standing water in yards and low lying areas. It’s frustrating to see, and right now,...